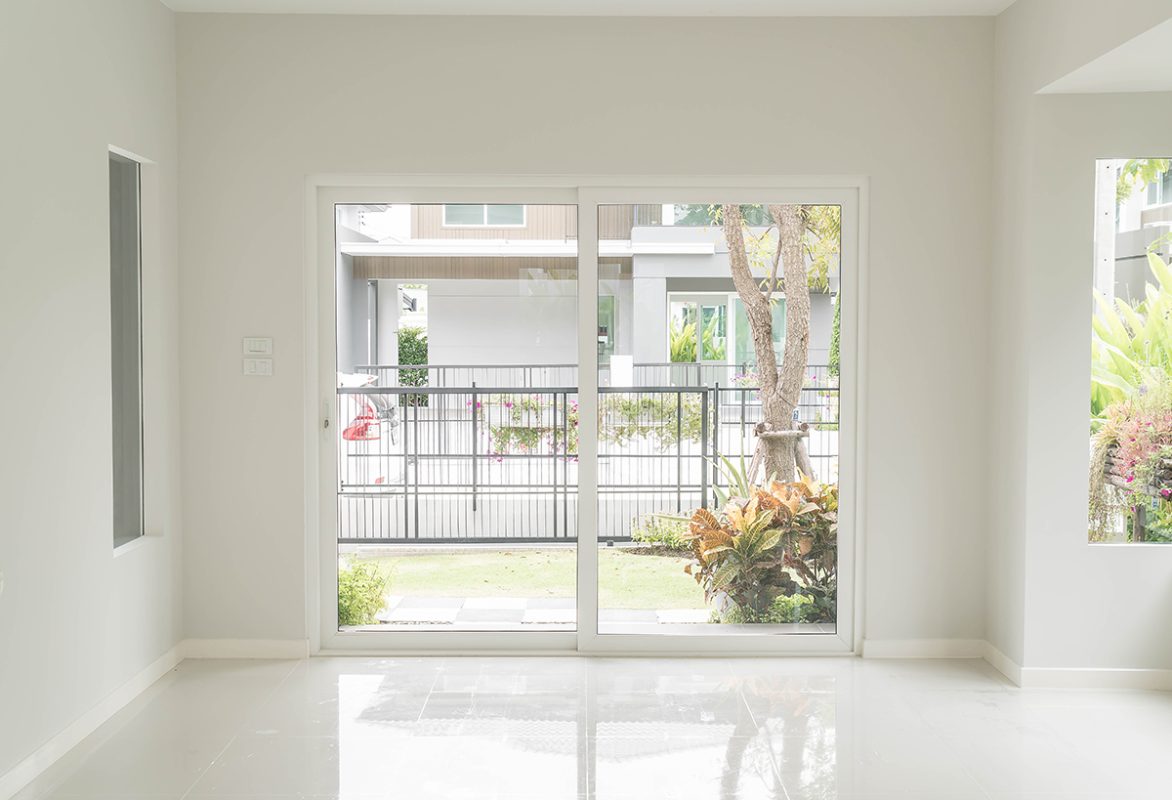
How to Upgrade to New Windows
You have probably asked yourself whether you should upgrade your windows in your home. This could be for aesthetic purposes, or you want to increase the value of your home. Windows contribute significantly to your home’s energy efficiency. They also serve as a significant selling point if you intend to sell in the next few years. They’re one of the top five items potential customers like, so investing in them can add a lot of value. New windows also add instant curb appeal and can refresh and modernize a tired exterior.
Window Installation Skillset
Are you capable of replacing your windows? Depending on the type of replacement project, the skill required to replace specific windows can vary. For example, installing a full-frame replacement window is more complex than installing an insert replacement window. A full-frame replacement window includes a complete tear-out and replacement of the original one. In contrast, an insert replacement window allows you to retain the existing window frame and trim. Reviewing the product installation instructions or watching our installation videos is an excellent place to start. Then deciding the extent of a replacement project (and whether your abilities fit the project) comes next.
The Right Tools
Do you have all the tools needed to complete the replacement job? If you do not have the correct tools, you might not be able to complete the job. You will need specific tools and materials; most projects only need a few standard tools listed below.
- Safety glasses
- Caulk gun
- Waterproof shims
- Tape measure
- Level
- Hammer
- Power drill/driver
- Screwdriver
- Putty knife
- Utility knife
- Small pry bar
A Realistic Schedule
Have you allotted enough time for your project? A full-frame window replacement takes 4 to 6 hours on the ground floor, and the upper floors, take much longer. It’s possible that inserting windows would take less time. It’s always a good idea to set aside some extra time to read through your installation guides thoroughly.
Window Replacement Options
There are two main options used to replace window frames. Full-frame windows and insert windows are the two types of vinyl replacement windows available.
Replacement Windows with a Full Frame
• Replace the entire existing frame
• Mainly done when existing window frames are old and salvaging is not an option.
• More difficult project because the interior and exterior trims, as well as siding, must be removed
You can always look for inspiration for the look that fits into your interior and neighbor style, i try to look for styles within the region i’m closer to, to kinda fit into the style, for example here you can find some ideas in Banff Homes for sale, since the styles are more real and more material is there to look into.
Replacement with Insert Windows
• Existing frames must be in good shape.
• These are easier to install than full-frame replacements
• There is no need to remove existing trims and siding
• Any replacement windows can be mounted from both the inside and outside of the building.
Remove the Old window
If you require a new windowpane, you can schedule an appointment with a glazing contractor. Consider using a stock replacement window if the whole window needs replacing. You will need to make some frame changes, but it would be less expensive than a custom window. Remove the entire window casing, including the trim and sill plate, with a crowbar.
Make Window Frame Adjustments
Make sure the headers and studs are straight and the frame suits the dimension of the new window after removing the window casing. This may necessitate adding new boards to the frame and removing some of the exterior sidings. Allow a quarter-inch gap on all sides for additional changes and insulation.
Install the New Window
If you had to remove a portion of the exterior siding, be sure to replace it with a felt wrap to keep moisture out. Then add window wrap to the window’s external framing. Start installing the window wrap at the bottom of the window and work your way up.
Install the window from the outside by pressing it up against the frame until it is flush. Install your window by screwing it in place and securing it to a strong piece of wood. Manipulate the screws and apply shims to areas that need modification until the window is plumb and square. Once the window is in the proper position, lock it with screws or nails from the outside.
Wrap The Window
Put another layer of window wrap around the fins of the window until it’s aligned and nailed into place. Make sure the wrap is fully covered and overlapped. Allowing the wrap to crinkle or fold back on itself is not a good idea. Since it’s so essential for keeping moisture out, it needs to be straight and flush with the window frame.
Window Insulation
Fill the gap between the casing and the window with an expanding foam sealant to insulate it. To cover the surface, use painter’s tape around the window’s edges. The foam must be scraped off with a knife until it has dried. Please don’t use too much foam because it will cause the window to bow and become unusable.
Trim and casing should be replaced.
Take away the excess foam and add a new interior casing after it has dried. If necessary, replace the exterior trim.
